Sunday, April 02, 2006
always have a back-up plan
So here I've finished the nice stroller blanket that you've already seen. It occurs to me that the stroller blankets are the same pattern I use for the baby blankets. The baby blankets are 18 repeats wide, and here I have 10 repeats already threaded. I could save myself a couple of hours if I could add on some heddles and just thread the additional 8 repeats, right? Well, anyone who has had to add heddles to the inner harnesses (2& 3) can tell you it's a pain. And I'd have to add112 to harness #3. Then, (many days later-OK, a week later--I'm the tortoise in the World of Weaving) it occurs to me, that in the "olden days" professional weavers used to have sets of harnesses and reeds prethreaded, hanging on the wall, waiting for a customer to order that pattern. He'd take down that pattern set, place it on the loom, tie on, and go. If only I had some extra harnesses and reeds... Well, wait a minute! Why couldn't I take out my harnesses and reed and add my heddles that way! By george! A brilliant idea! So I did:
Here's the loom after cutting off the stroller blankets.

I don't want to rethread the reed (lazy me) so I'll take it along. I tied bundles of threads in knots so they don't slip out.
I'm undoing the larks head in the back that the bundles are tyed to. This is a sectional beam, and I don't use paper between the layers of thread. And, no I don't have trouble with tension if I'm careful with the wind-on.
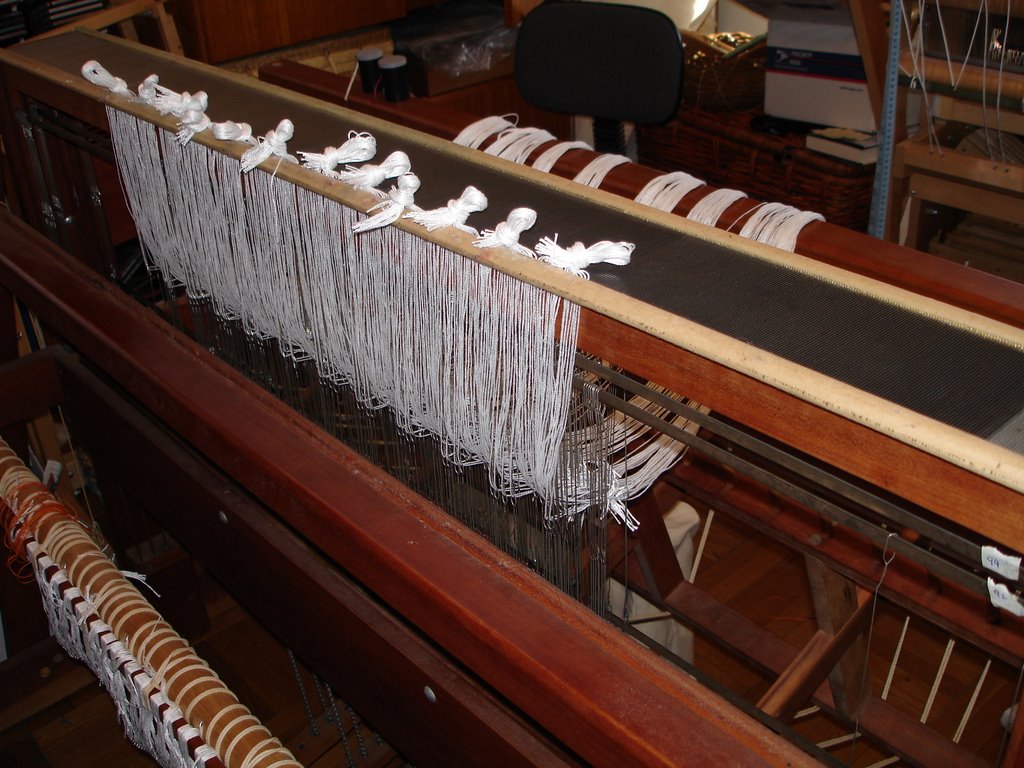
The reed has been taken out of the beater and is laying flat on top of the harnesses. On this loom the harnesses lift straight up and out without having to unfasten anything. I will carry the bundle of harnesses and reed into the living room.
So here's the harnesses and reed (flat, in front of the harnesses) on the sofa. I can add heddles to each harness, and then flip it down towards me to rest on the sofa as I work on the next one.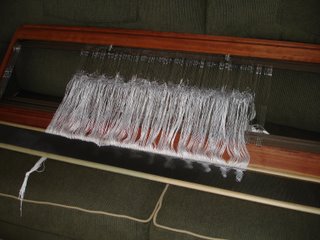
When I take heddles off the harnesses at the end of a project, I batch them in groups of 25, 50 and 100 to make it easier to add them back on for another project. These flat ones are not my favorite, but they tape together in a flat bundle that is easy to slide onto the harnesses. My favorite ones have the large open eye.
I write the number of heddles on each harness, so when I get ready for my next project, I don't have to count all over again. Sometimes all I need to do is switch out the harnesses. I'm done adding heddles, so I carry everything back to the loom and put it all back where it belongs. It turns out this is much harder than removing it. There are slots to get the harnesses into, while balancing the other ones and the reed, which keeps diving towards the floor.
So, now I'm ready to measure my warp, and I get my yarn out, and this is all I have. I need about 6000 yards just for warp, and this is maybe 3500 yards. Rats. Now what?
I'll have to order more on Monday, and if it turns out it will be on backorder, I'll unthread what's there, and play with this instead:
This is about 4 pounds of handspun, hand-dyed corriedale and coopworth. It's dyed with chochineal and logwood, and the "real" colors are a bit darker, more burgundy and plum. I have enough for a double-sized blanket or a couple of throws, and I haven't decided which way to go on that. Nice back-up plan, huh?
Here's the loom after cutting off the stroller blankets.

I don't want to rethread the reed (lazy me) so I'll take it along. I tied bundles of threads in knots so they don't slip out.

I'm undoing the larks head in the back that the bundles are tyed to. This is a sectional beam, and I don't use paper between the layers of thread. And, no I don't have trouble with tension if I'm careful with the wind-on.

The reed has been taken out of the beater and is laying flat on top of the harnesses. On this loom the harnesses lift straight up and out without having to unfasten anything. I will carry the bundle of harnesses and reed into the living room.
So here's the harnesses and reed (flat, in front of the harnesses) on the sofa. I can add heddles to each harness, and then flip it down towards me to rest on the sofa as I work on the next one.

When I take heddles off the harnesses at the end of a project, I batch them in groups of 25, 50 and 100 to make it easier to add them back on for another project. These flat ones are not my favorite, but they tape together in a flat bundle that is easy to slide onto the harnesses. My favorite ones have the large open eye.

I write the number of heddles on each harness, so when I get ready for my next project, I don't have to count all over again. Sometimes all I need to do is switch out the harnesses. I'm done adding heddles, so I carry everything back to the loom and put it all back where it belongs. It turns out this is much harder than removing it. There are slots to get the harnesses into, while balancing the other ones and the reed, which keeps diving towards the floor.

So, now I'm ready to measure my warp, and I get my yarn out, and this is all I have. I need about 6000 yards just for warp, and this is maybe 3500 yards. Rats. Now what?

I'll have to order more on Monday, and if it turns out it will be on backorder, I'll unthread what's there, and play with this instead:

This is about 4 pounds of handspun, hand-dyed corriedale and coopworth. It's dyed with chochineal and logwood, and the "real" colors are a bit darker, more burgundy and plum. I have enough for a double-sized blanket or a couple of throws, and I haven't decided which way to go on that. Nice back-up plan, huh?
Yellow is for spring
It's not spring until these arrive: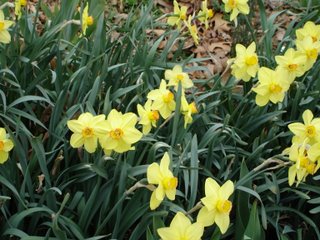
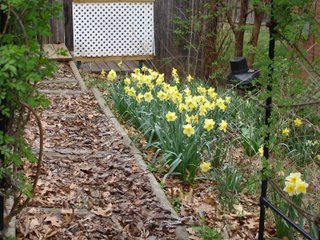
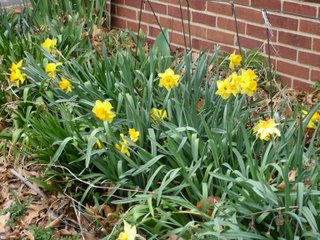
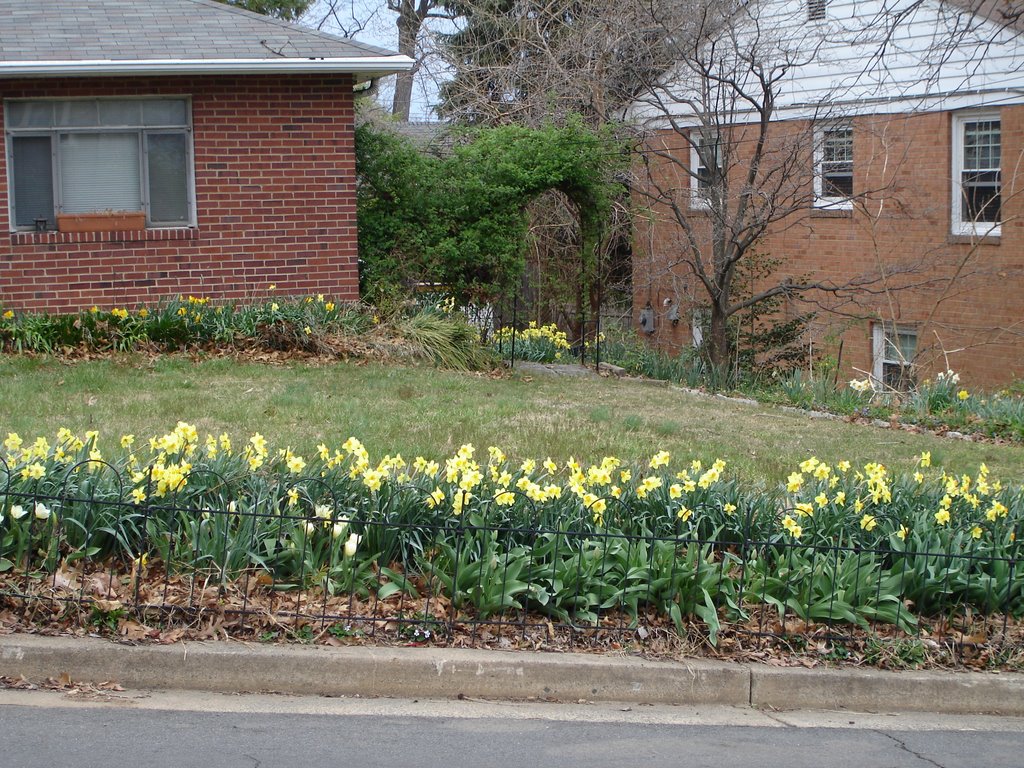
This is a shot of the daffodils in my front garden bed. We're the house on the left. You can see daffodils in front of the house and off to the side through the arch. You can also see the tulip leaves in front of the daffodils. If it stays cool enough long enough the daffodils are still blooming when the tulips open. It's really gorgeous. Last year one couple took a picture of their toddler in front of the flower bed!
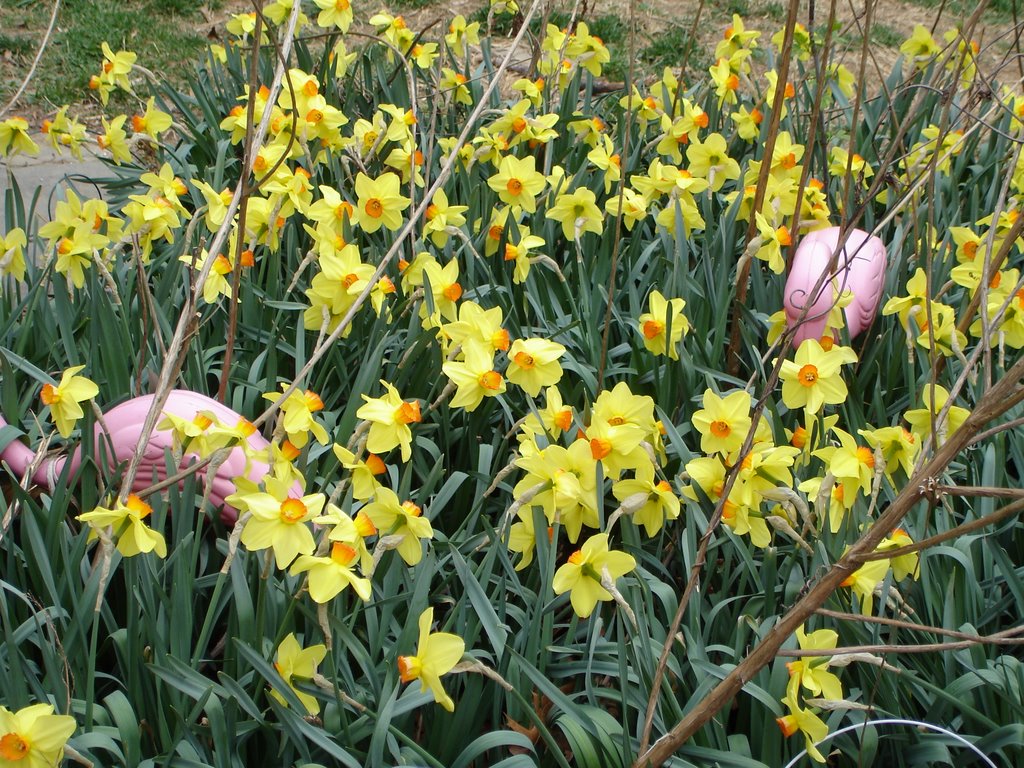
Yes, those are flamingos in the daffodils. They belonged to my daughter, but now they live in that flower bed. They're especially colorful in the winter with snow up to their necks.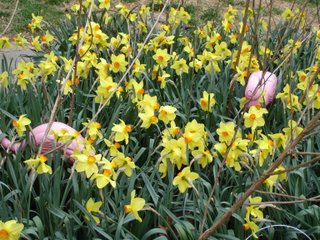
Handspun yarn from my painted roving, closeups below.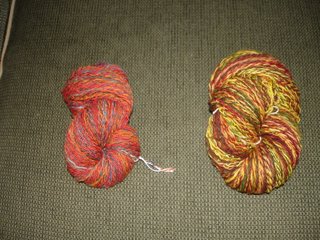

The flash washed this out; it's really bright orange, red & yellow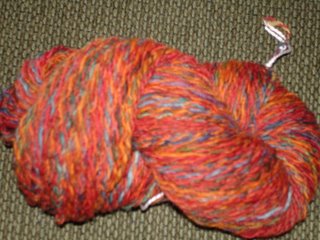

This is a shot of the daffodils in my front garden bed. We're the house on the left. You can see daffodils in front of the house and off to the side through the arch. You can also see the tulip leaves in front of the daffodils. If it stays cool enough long enough the daffodils are still blooming when the tulips open. It's really gorgeous. Last year one couple took a picture of their toddler in front of the flower bed!


Yes, those are flamingos in the daffodils. They belonged to my daughter, but now they live in that flower bed. They're especially colorful in the winter with snow up to their necks.
Handspun yarn from my painted roving, closeups below.

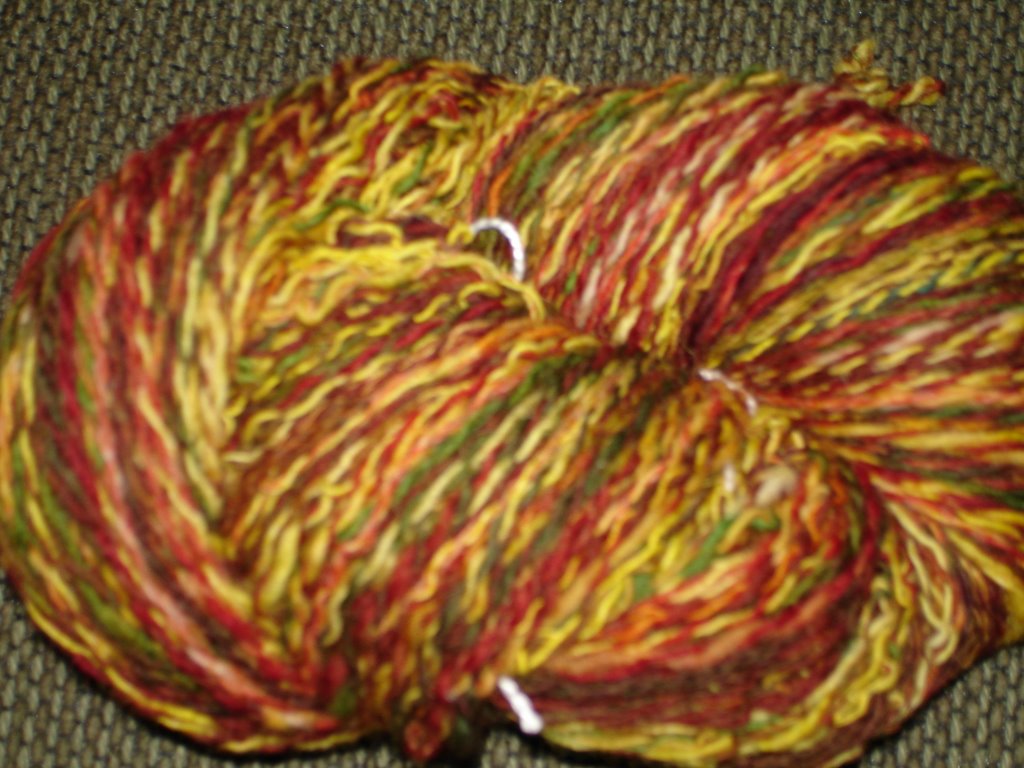
The flash washed this out; it's really bright orange, red & yellow

![]()